I am sure that every owner of Apple AirPods can confirm they’ve been facing an issue with one of the AirPod not charging.
If your Apple AirPods experience this issue, it can be pretty frustrating, especially if you own a new model or your AirPods have served you well for a long time.
Do not worry; there are easy tricks you can do to solve these issues on your own, and based on feedback from other people, these steps can fix the problems with Apple AirPods charging problems.

One of the AirPod not Charging – How to Fix it?
If one of your AirPod is not charging, the most probable reason is a dirty charging case port or AirPod terminal. To fix the issue, grab a Q-tip, put some isopropyl alcohol on top, and gently clean the metal ring on your AirPods and inside your charging case.
This simple step will fix the charging issue for most of you; however, if there are some of you for whom the problem still needs to be solved, read below.
1. Clean the Metal Ring of Apple AirPods and Charging Case Ports
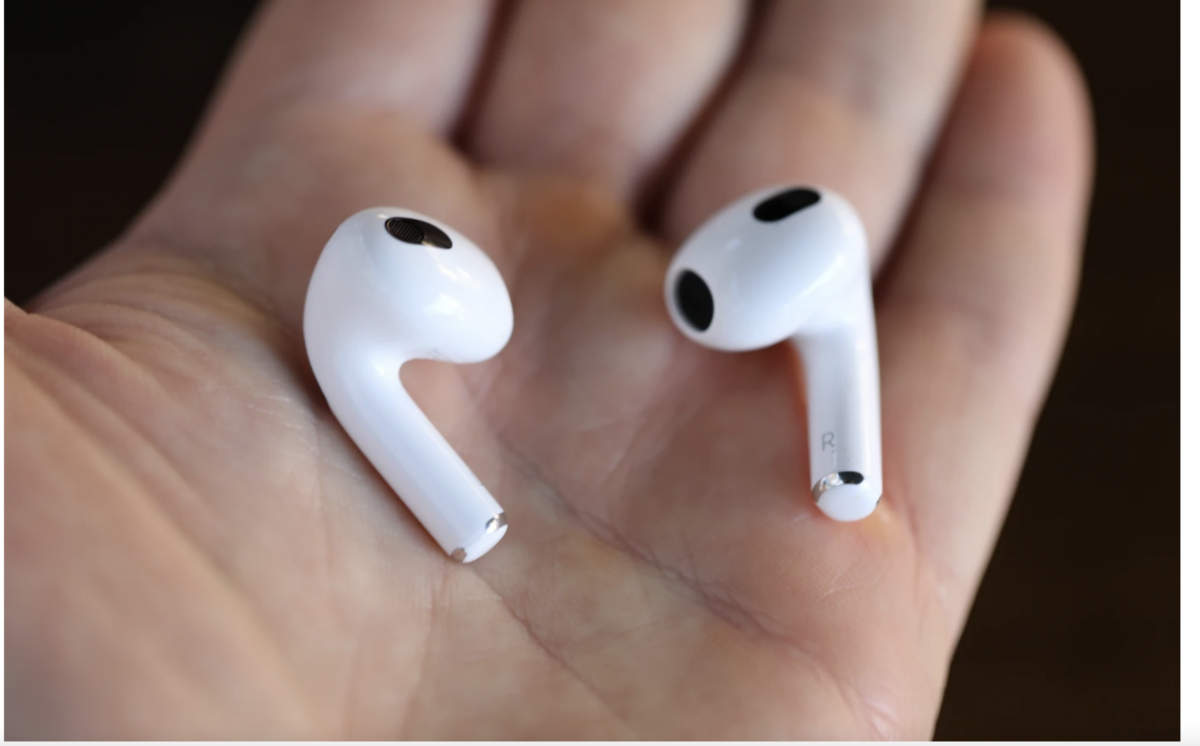
When you put your AirPods into the charging case, the metal ring on your AirPods gets in direct contact with the charging ports in your charging case.
This direct connection is required to transfer the charge from your charging case to your AirPods. Therefore, anything blocking the direct connection might affect your charging directly.
I am sure you’ll agree that while using your Apple AirPods, they get dirty from time to time. It could be caused by dirt, grime, earwax, etc., either in your Apple AirPods or the charging case. All of these things can cause charging issues for your AirPods.
Grab Q-tip and clean these areas gently:
- Metal ring at the bottom of your Apple AirPods
- You can also add a little bit of isopropyl alcohol at the end of your Q-tip if required – approved by Apple.
- Clean your AirPods charging case as well
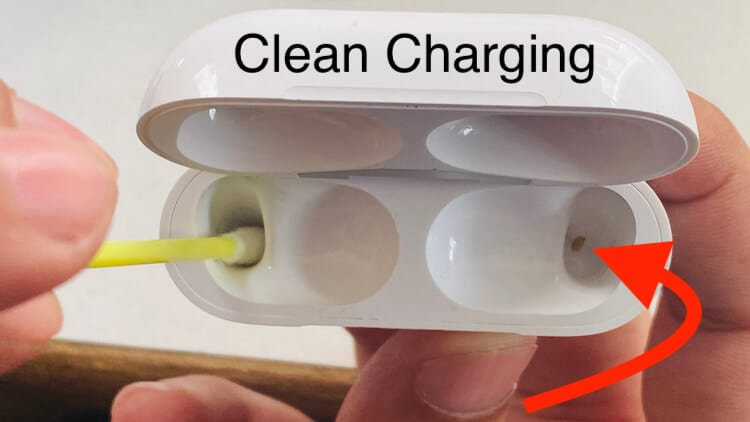
Feel free to grab a flashlight or use your iPhone flash to get a better look into your charging case.
Following the steps above solves the Apple AirPods charging issues for most users. If not, continue below.
2. Use Apple Certified Charging Cables Only
You know what the Apple ecosystem is about if you use more than one Apple product. You’ve noticed Apple loves its products, and you know that only its products are a bulletproof guarantee of working correctly between each other.
I am sure there is a high tension to buy a lightning cable, charging case, or anything else for half of the price, and you are good to go with that but make sure it’s Apple certified!
There is a high chance when buying a cable or another gadget from Amazon, eBay, or a random store in a mall that the product will be poorly made or even counterfeit.
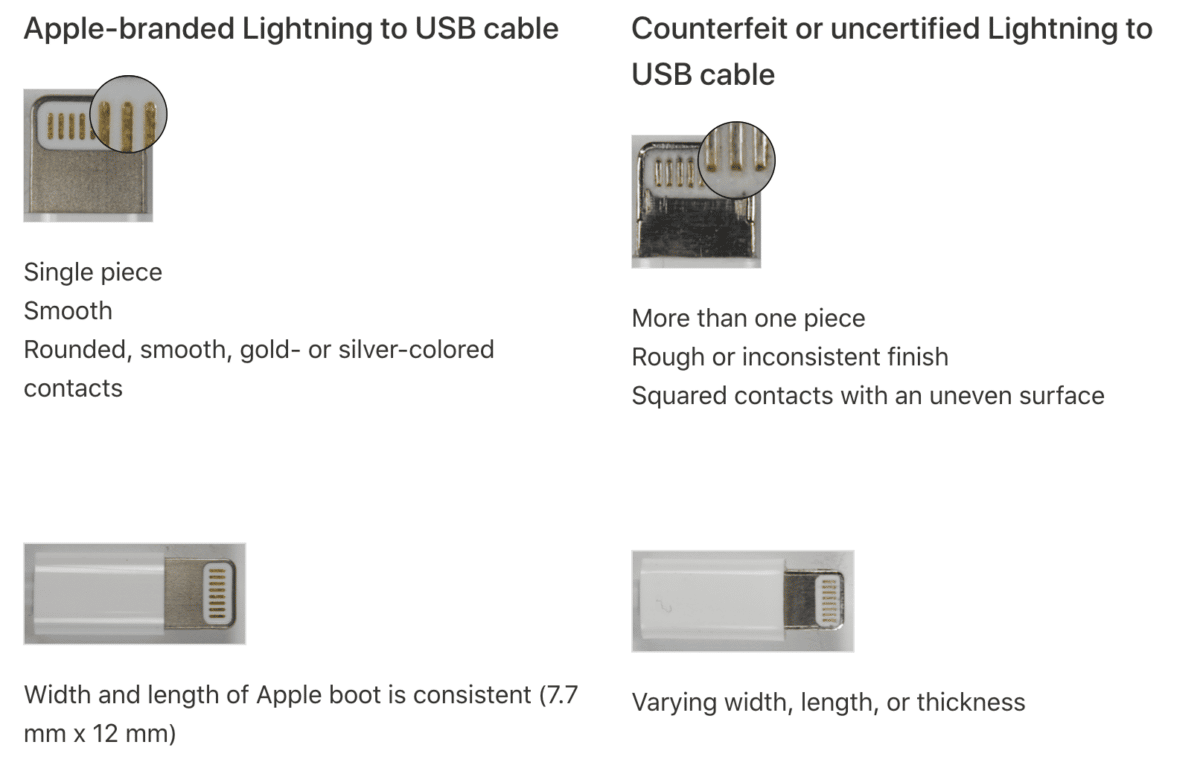
Apple warns its users before buying and using the counterfeit product as it may be dangerous for you and your devices.
If you are not using an original charging cable and one of your AirPods is not charging, the counterfeit charging cable is causing the issue.
It’s worth investing 10-15$ more for the genuine product than the device’s total price when the counterfeit breaks it. If you don’t believe the cable might be the issue, borrow a genuine one from a friend of yours and give it another try.
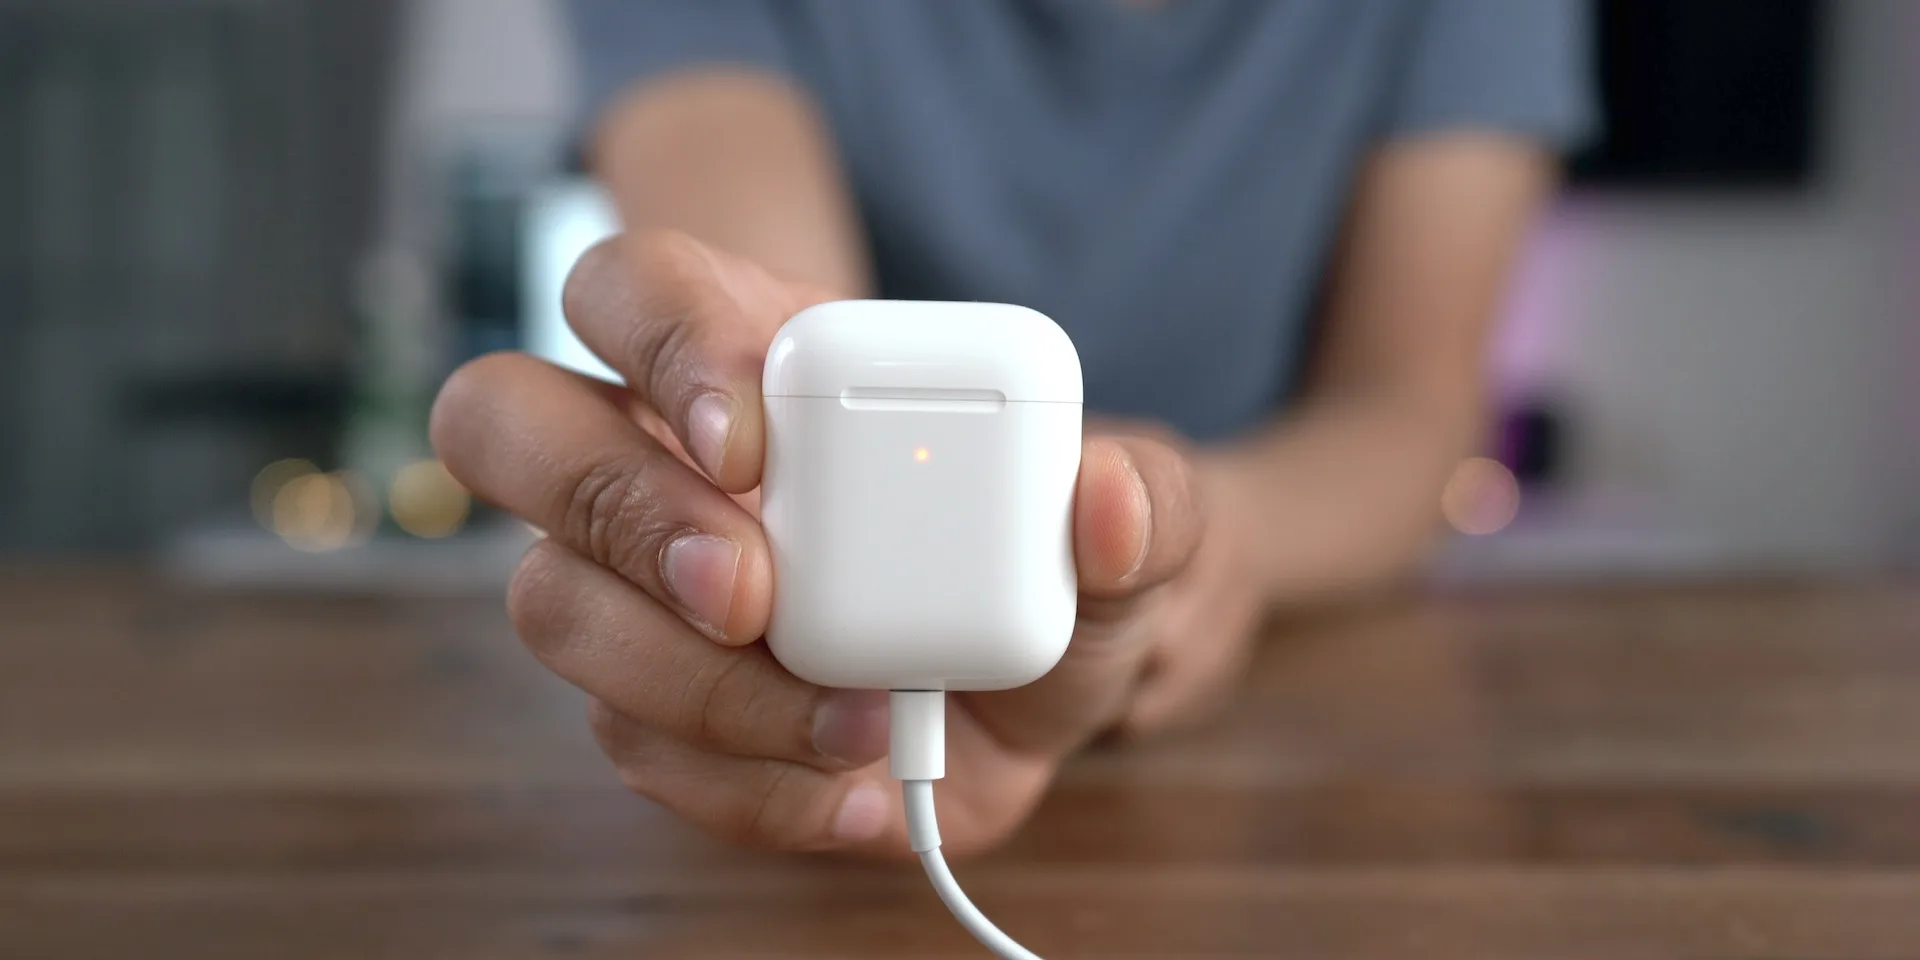
3. Charge your Apple AirPods
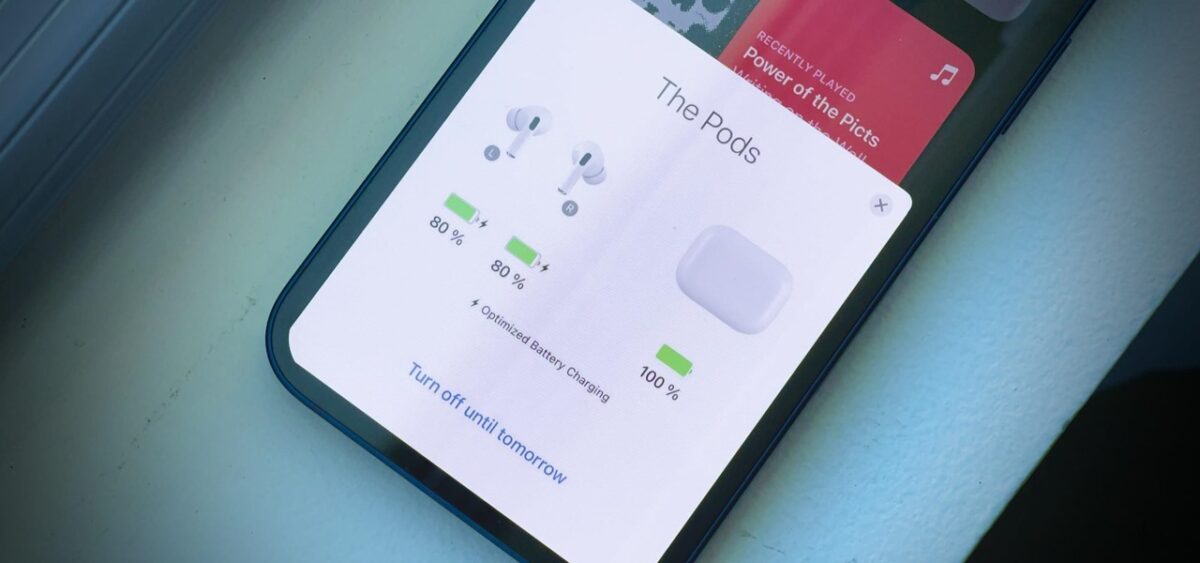
Give your AirPods a full charge – 100% with a certified/genuine charger.
Remember that if your Apple AirPods have a low battery (10% or less), they might lose connection, sound quality, volume, or microphone functionality.
It’s also proved your Apple AirPods getting older might behave weirdly or face an issue establishing a stable connection with 20-30% and below capacity.
Because of the reasons above, it’s always best to keep your Apple AirPods fully charged. And it’s not that hard since Apple AirPods can charge fully in approx. 1hour. Which is just brilliant, isn’t it?
For most people, a combination of clean AirPods and charging case ports, certified charging cable, and full charge solved an issue with one of the AirPods not charging. However, there is still hope if you are not the lucky one. Just continue further.
4. Reset Apple AirPods
Resetting your Apple AirPods is another easy way to fix charging issues. A bit more complex, but 90% of the users fixed their problems by doing this.
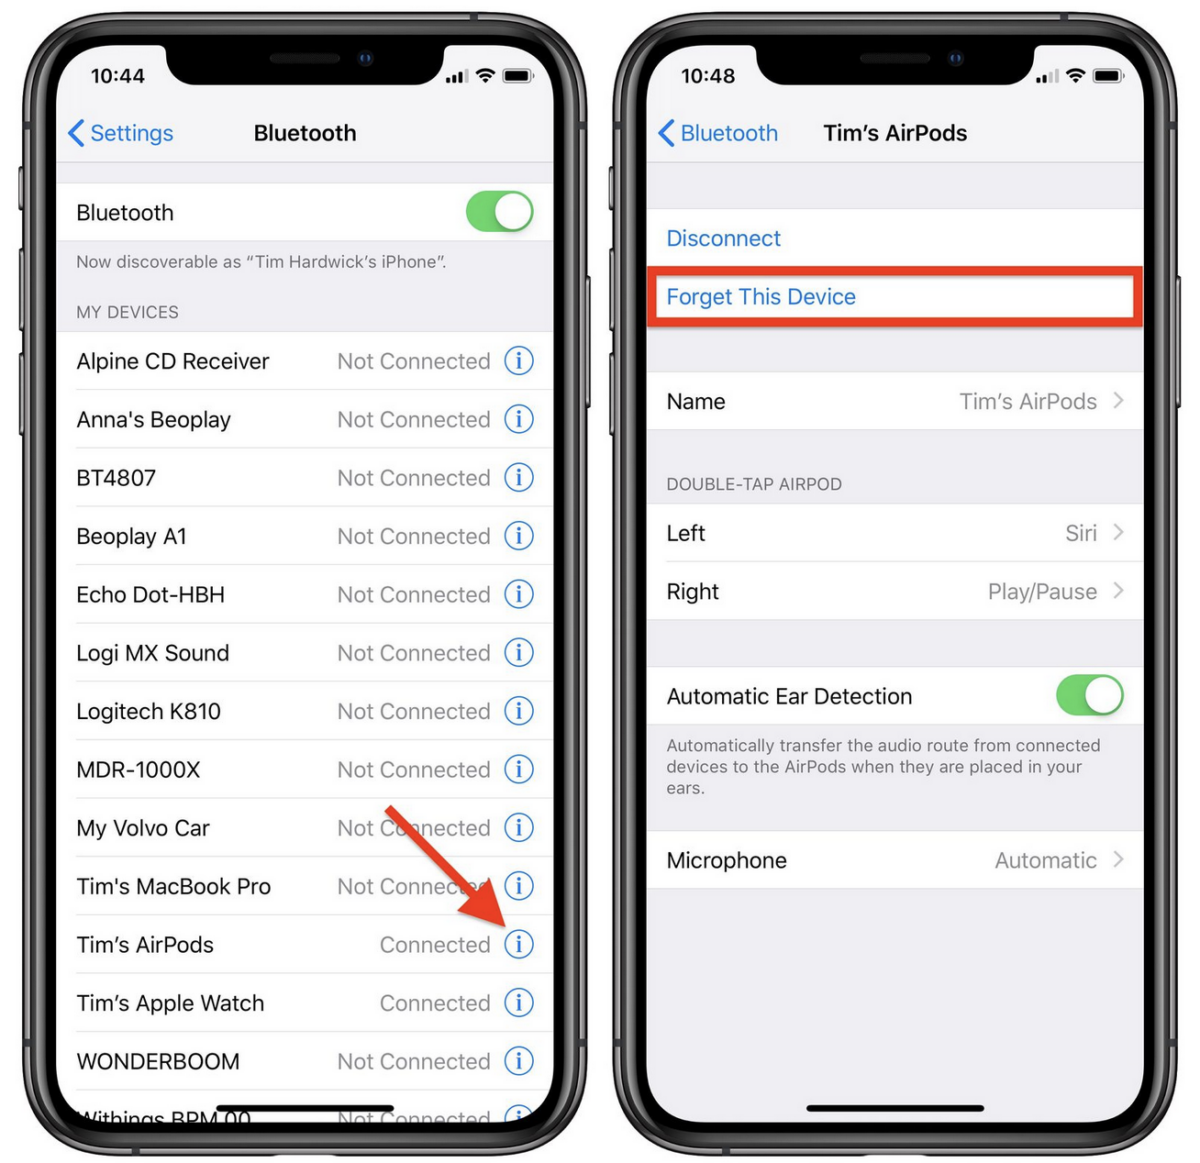
As a first part, you need to Forget This Device:
- Go to Settings
- Select Bluetooth
- Click on the info icon next to your AirPods
- Select Forget This Device
- This step will remove your AirPods from your device
Now, when your Apple AirPods have been removed, follow these steps to pair them back with your device:
- Make sure you enabled Bluetooth on your device
- Place both Apple AirPods into the case and open the case’s lid
- Press and hold the button on the back of your charging case until the led is blinking white
- A pop up window will appear on your device – select Connect
- It might take a couple of seconds, and your AirPods connect to the device.
If the steps above don’t resolve the issue, repeat the entire process at least one more time and then continue with the further steps below.
5. Update AirPods Firmware
Apple constantly provides new releases of firmware for their AirPods.
If you don’t know what the AirPods firmware is, you can consider it an operating system of your AirPods.
The firmware update fixes the problems discovered since the release and provides new features in some cases.
AirPods gets the updates automatically. It’s not a process like in the case of your iPhone, where you can click to update, but you still can cross-check if you are running the most recent version:
- Go to the Settings
- Select Bluetooth
- Tap on the Information button next to your AirPods
- Scroll down to Version
You can check the most recent firmware version for your AirPods model here.
If you are not running the latest possible version:
- Put your AirPods into the charging case
- Plug your AirPods into the charger
- Make sure your iPhone is nearby
This process will initiate the upgrade.
6. Replace Problematic AirPod
Now, let’s face the truth that if none of the steps above helped you to fix the issue, you might be facing a problem with the AirPod itself, meaning you might need to replace it.
I have two recommendations for you:
- Check with your local Apple store if the warranty does not still cover your faulty AirPods
- Be aware that you don’t need to replace an entire set of AirPods, but you can get replaced just the broken one
If you have owned your AirPods for less than a year, they are still covered by the Apple warranty, which means the repair/replacement will get paid for by Apple.
If it’s been more than a year, check the possibilities for the replacement here.
No worries, there isn’t any free solution for the replacement, but it’s way better than buying a whole set.
To Sum Up …
Like other wireless headphones, Apple AirPods can face sound quality, volume, and connection issues. However, if you check all tips and guides on this page or follow more information here, there is a high chance you will resolve your problem with your Apple AirPods not charging.
Let’s start with the easiest step, cleaning the metal ring of your AirPods and charging ports in your charging case.
If your Apple AirPods are still facing an issue with charging – and you followed all the steps in this article, you should look for an expert to help you in this area.
With some older models, buying a new one can be a great idea. With headphones, you can get significantly better sound quality, including a full warranty, for a slightly higher price.
If your Apple AirPods are new, check if you still have a warranty on your device and use that if possible.